How to Have the Greenest Lawn in Brisbane in 2026
If you want that lawn, you know the one neighbours whisper about, slow their cars to admire, and secretly envy, then buckle up. We're revealing all of our top lawn care tips today to get you the gr...
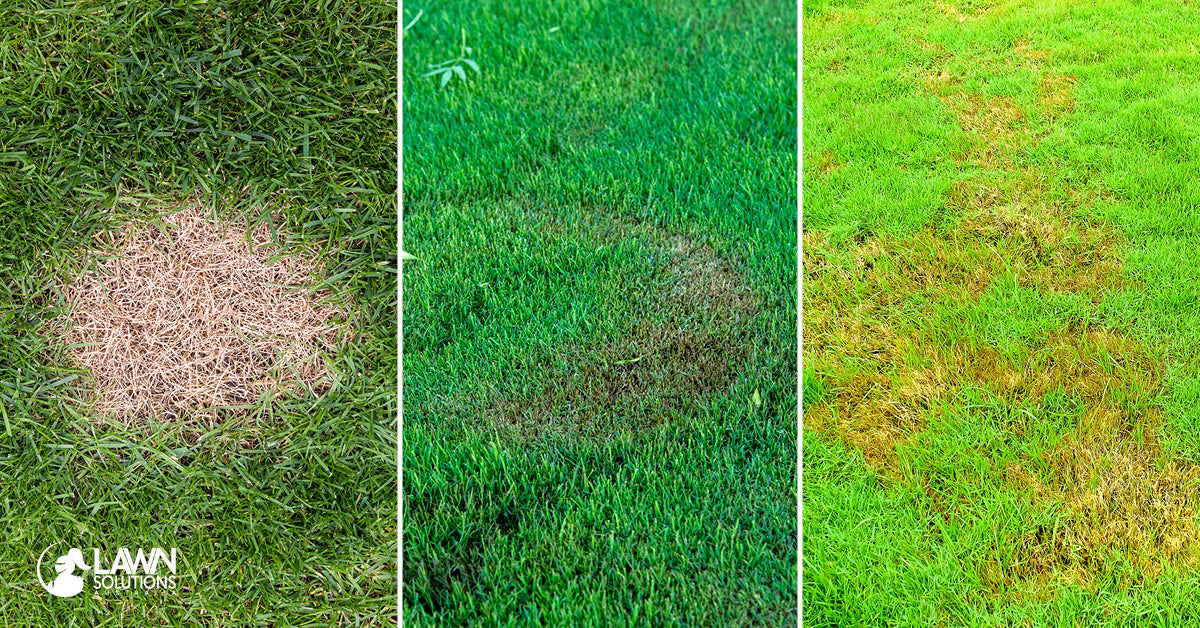
The 7 Most Common Lawn Care Mistakes We See in Brisbane (And How to Fix Them)
Avoid the most common lawn care mistakes in South East Queensland and learn how to fix them. From watering and fertilising to turf choice and seasonal care, get the tips you need for a lush, envy-i...
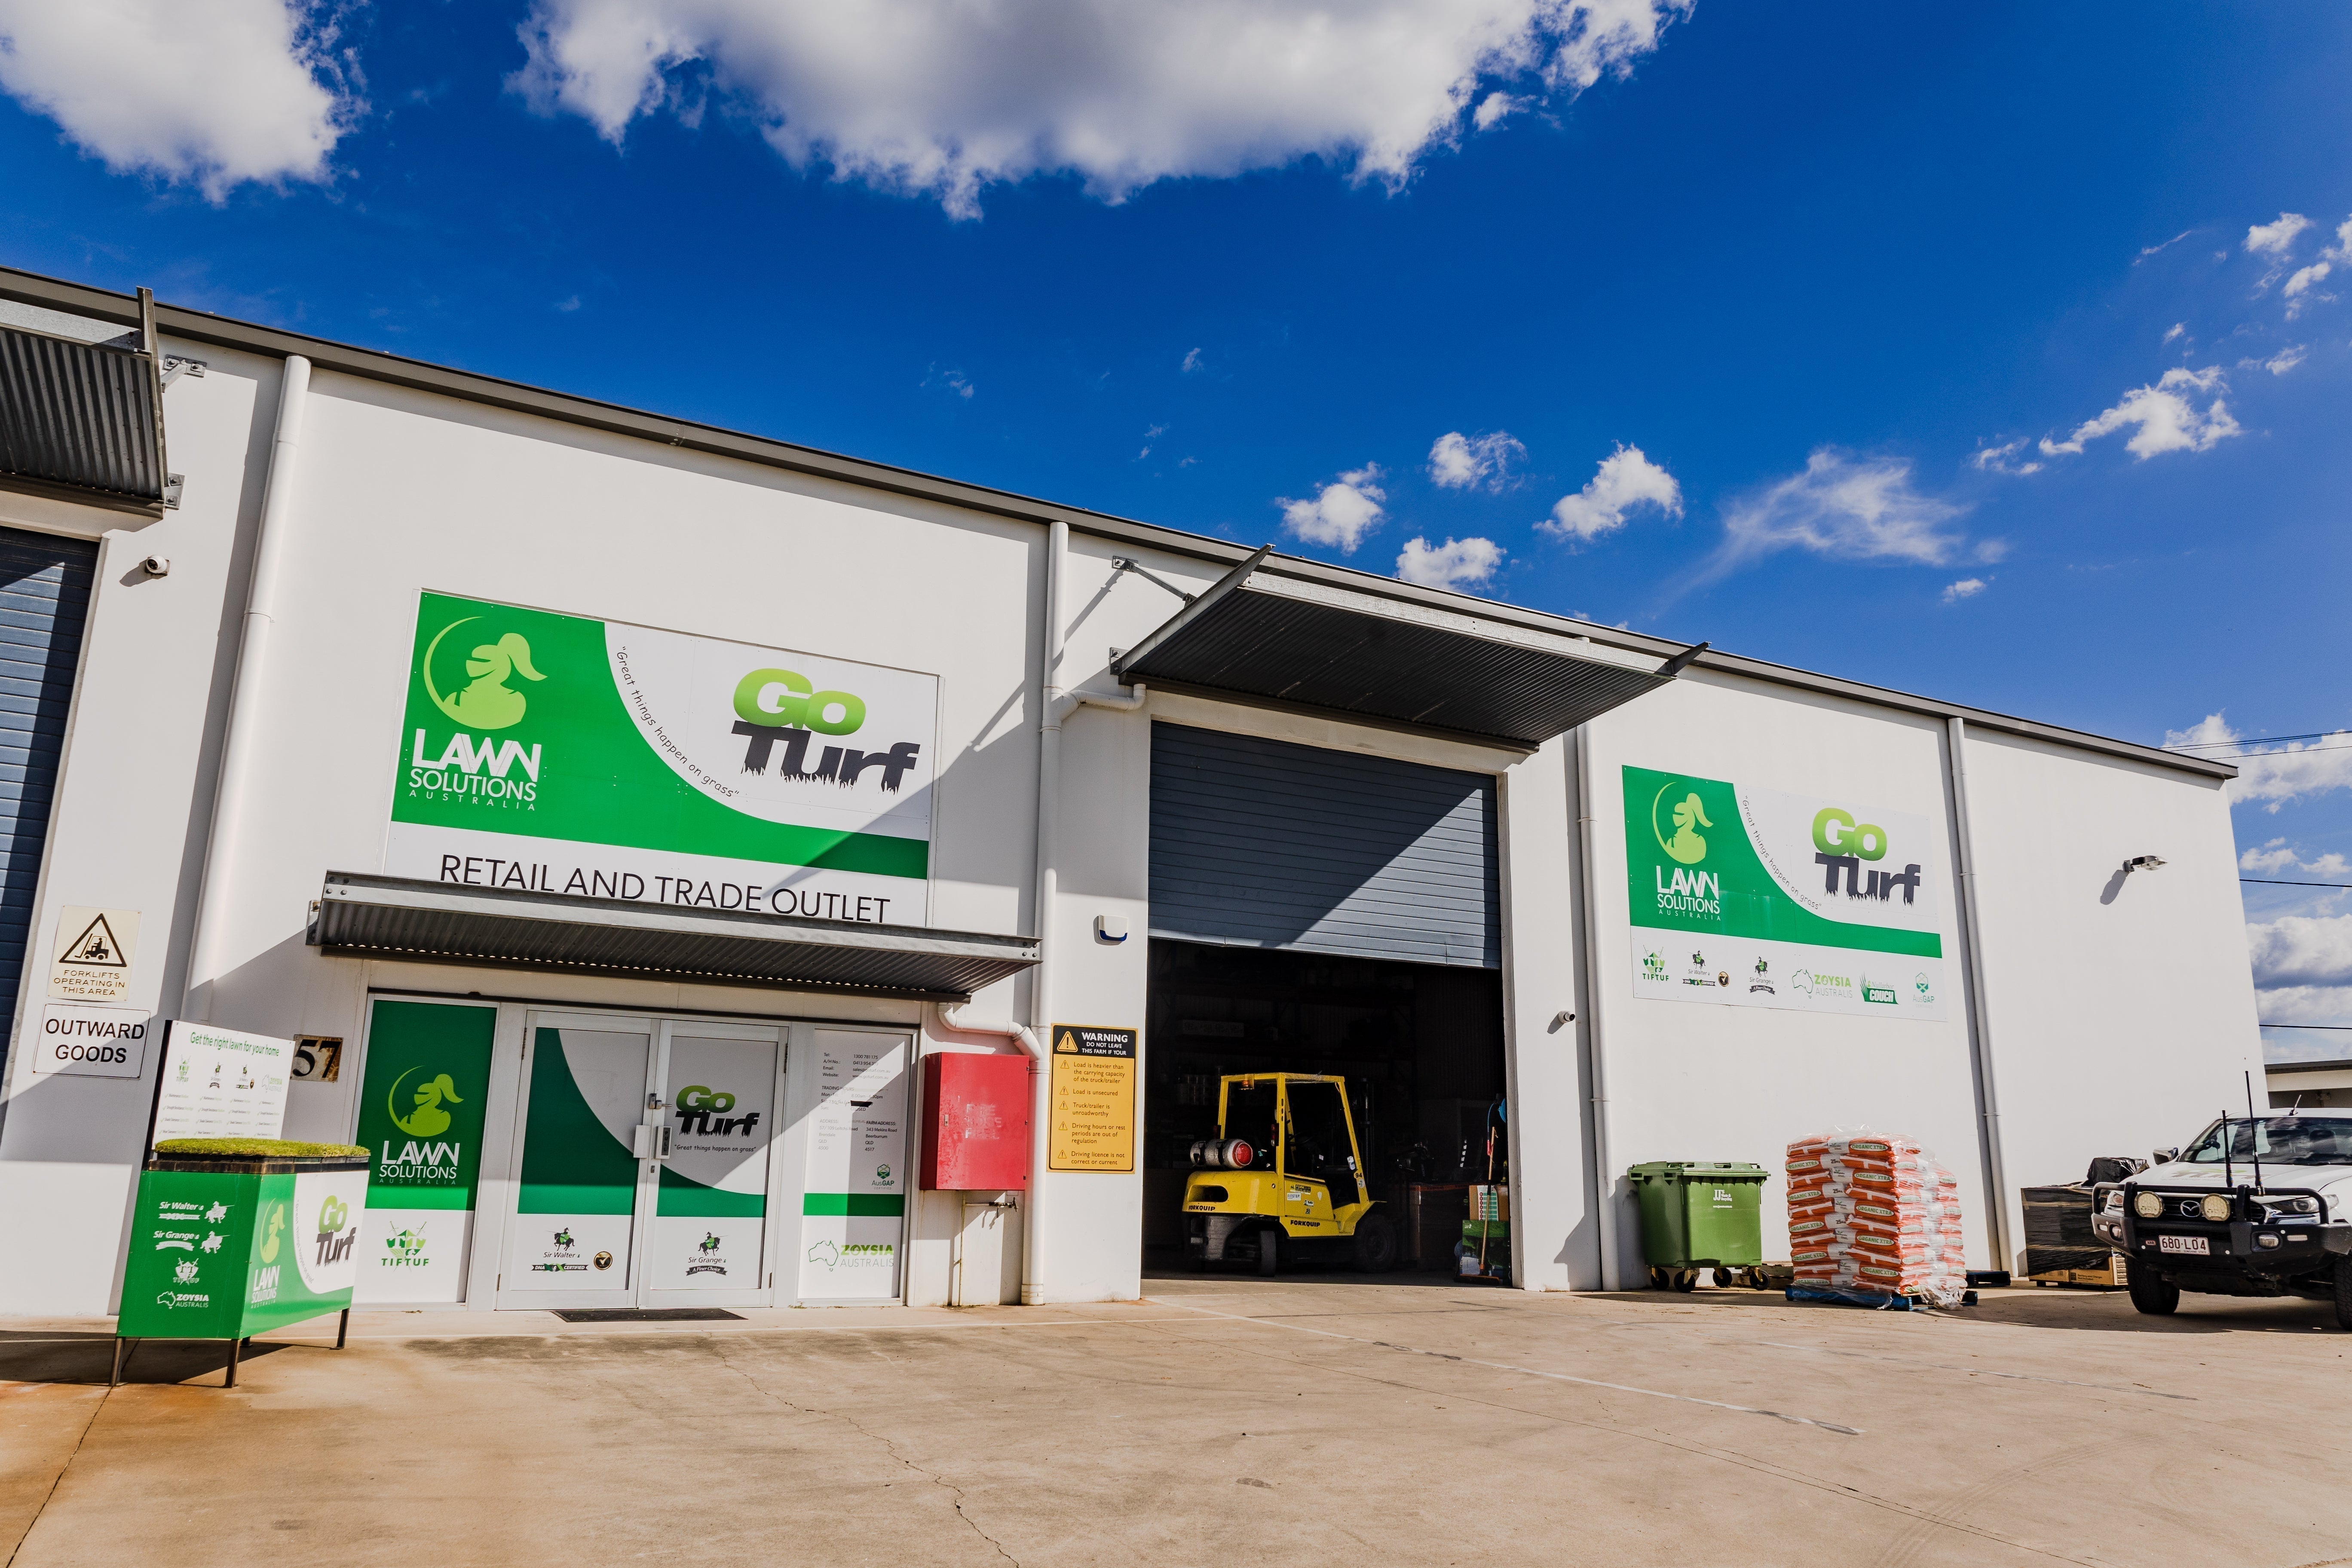
Where to Buy Lawn Products in Brisbane: Your Complete Guide
Shop premium lawn care products at GoTurf Brendale. Free turf pickup, expert advice & display yard in North Brisbane. Visit us today.
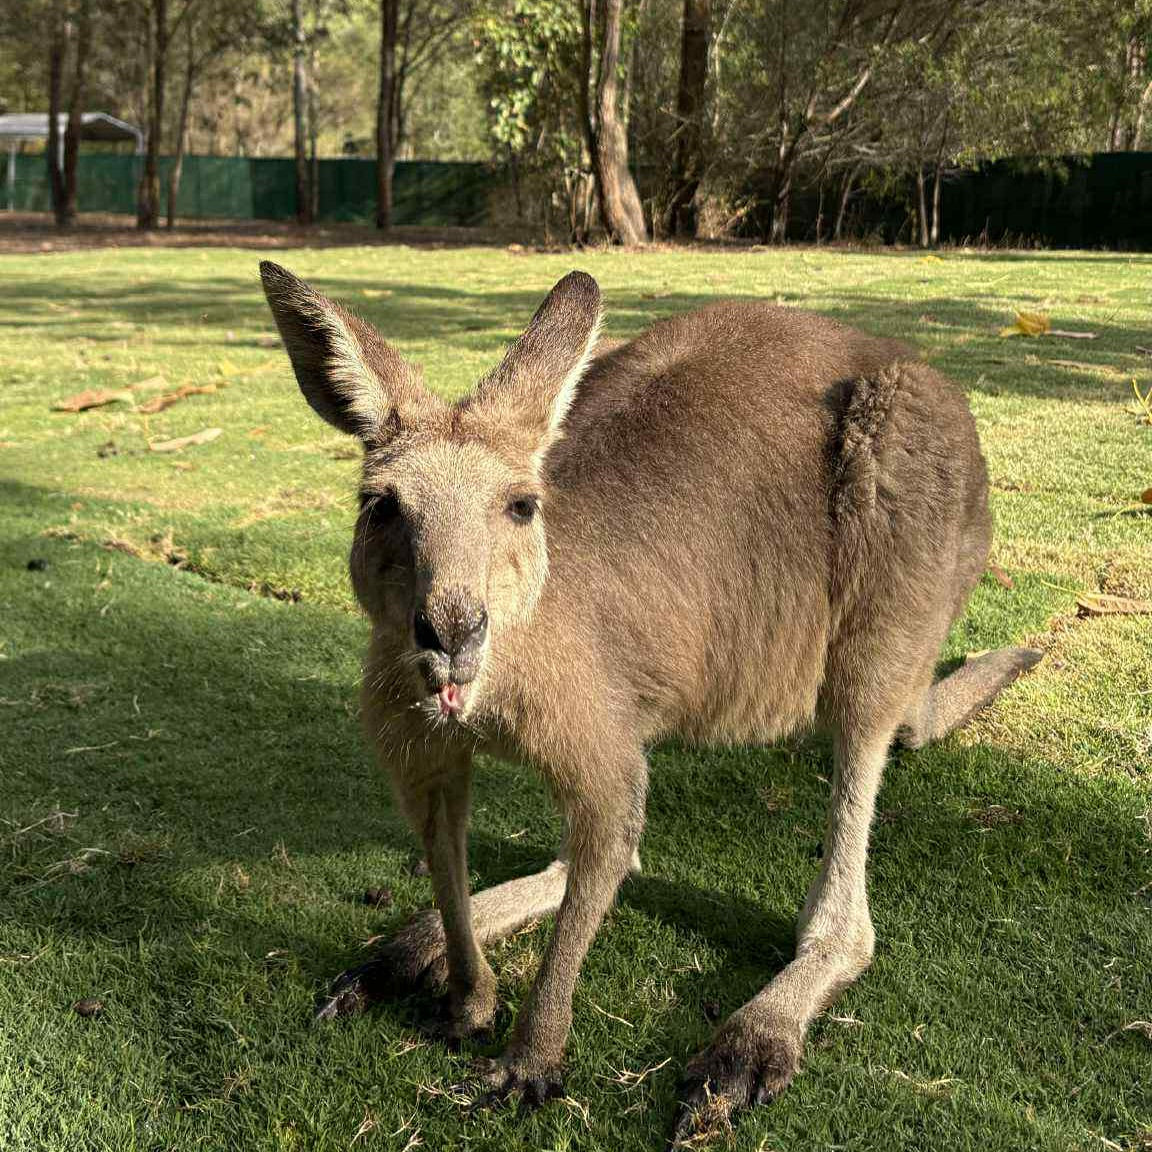
Only the Best Turf for Our Joeys: Supporting Wildlife Rescue Queensland
Queensland joeys deserve the best of the best. Here's why Wildlife Rescue Queensland chose TifTuf Hybrid Bermuda for their macropod enclosures.
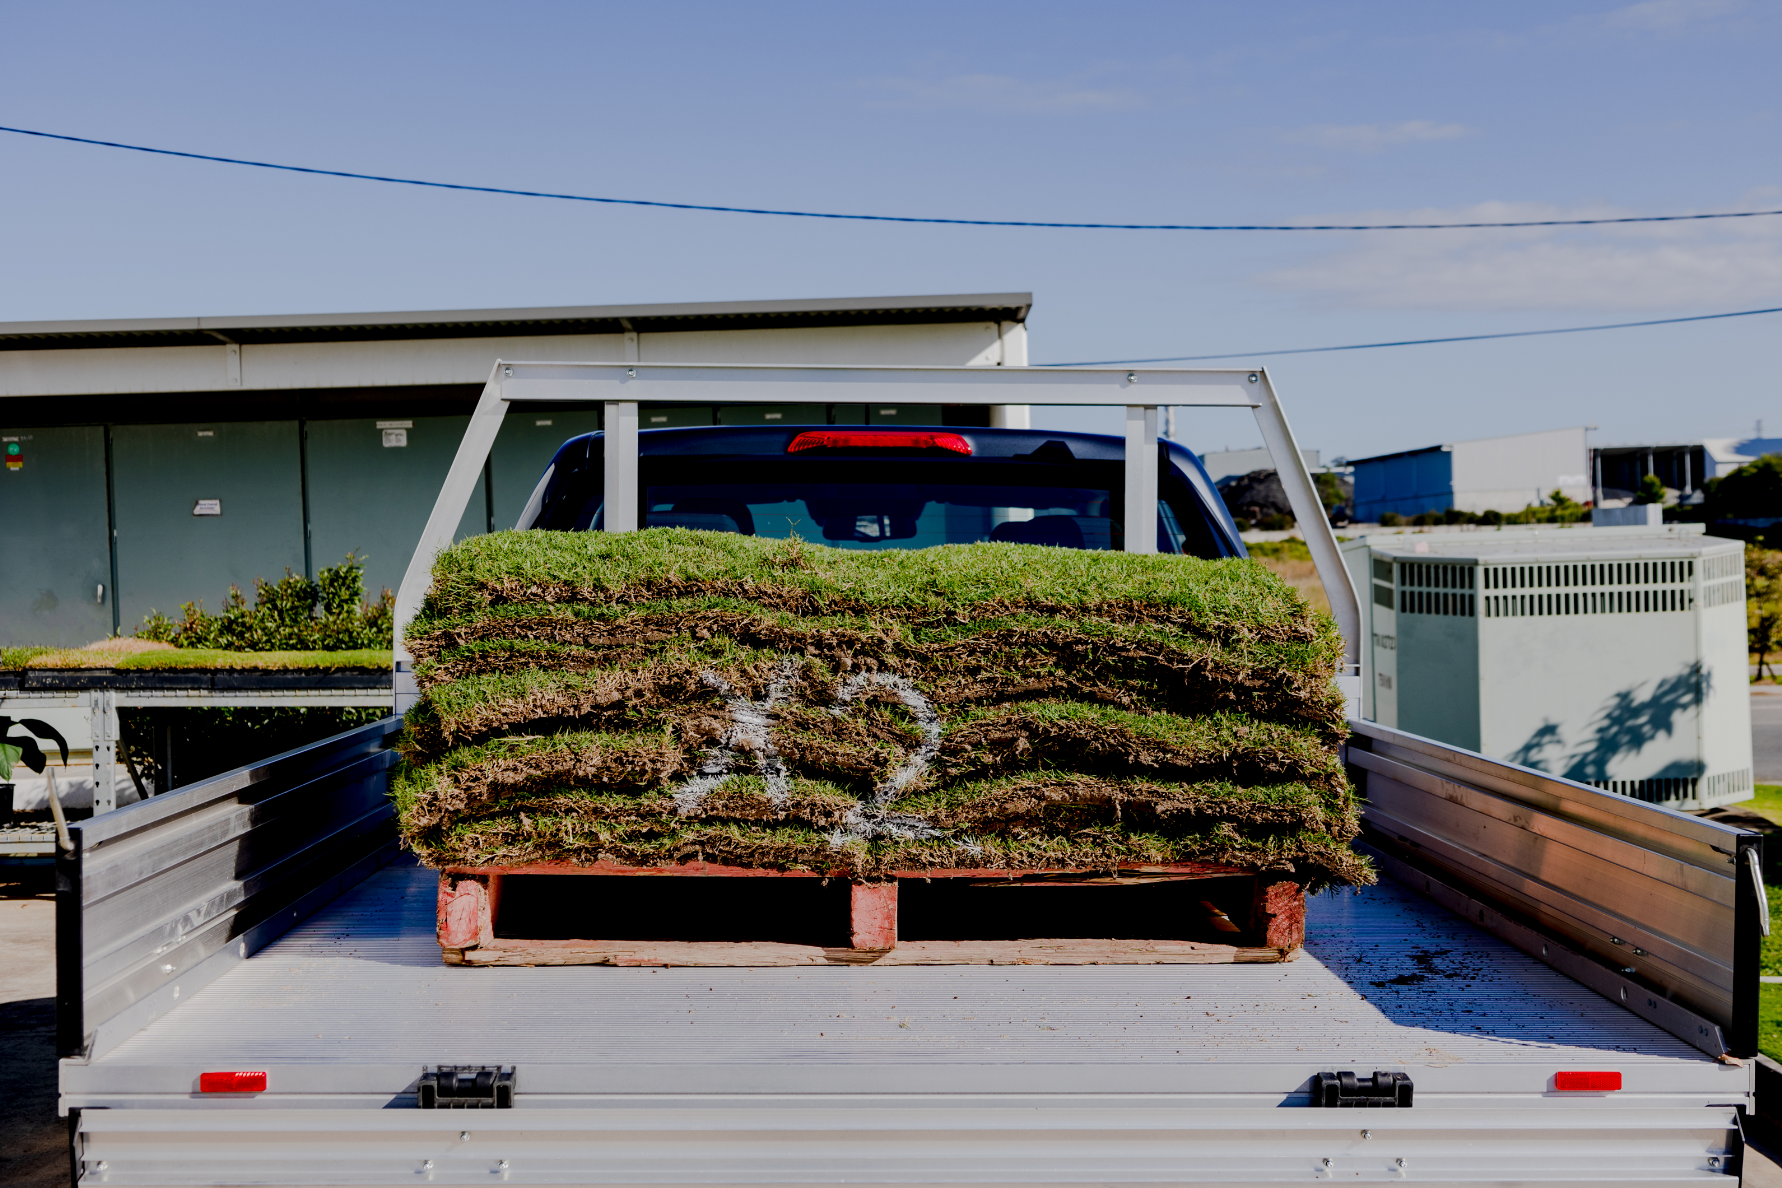
Your Complete Guide to Picking up your Turf in Brisbane & Sunshine Coast: What Vehicle Do You Need?
Complete guide to turf pickup in Brisbane & Sunshine Coast. Learn vehicle requirements, turf weights, slab dimensions, and GoTurf pickup locations. Order fresh turf for DIY installation today.
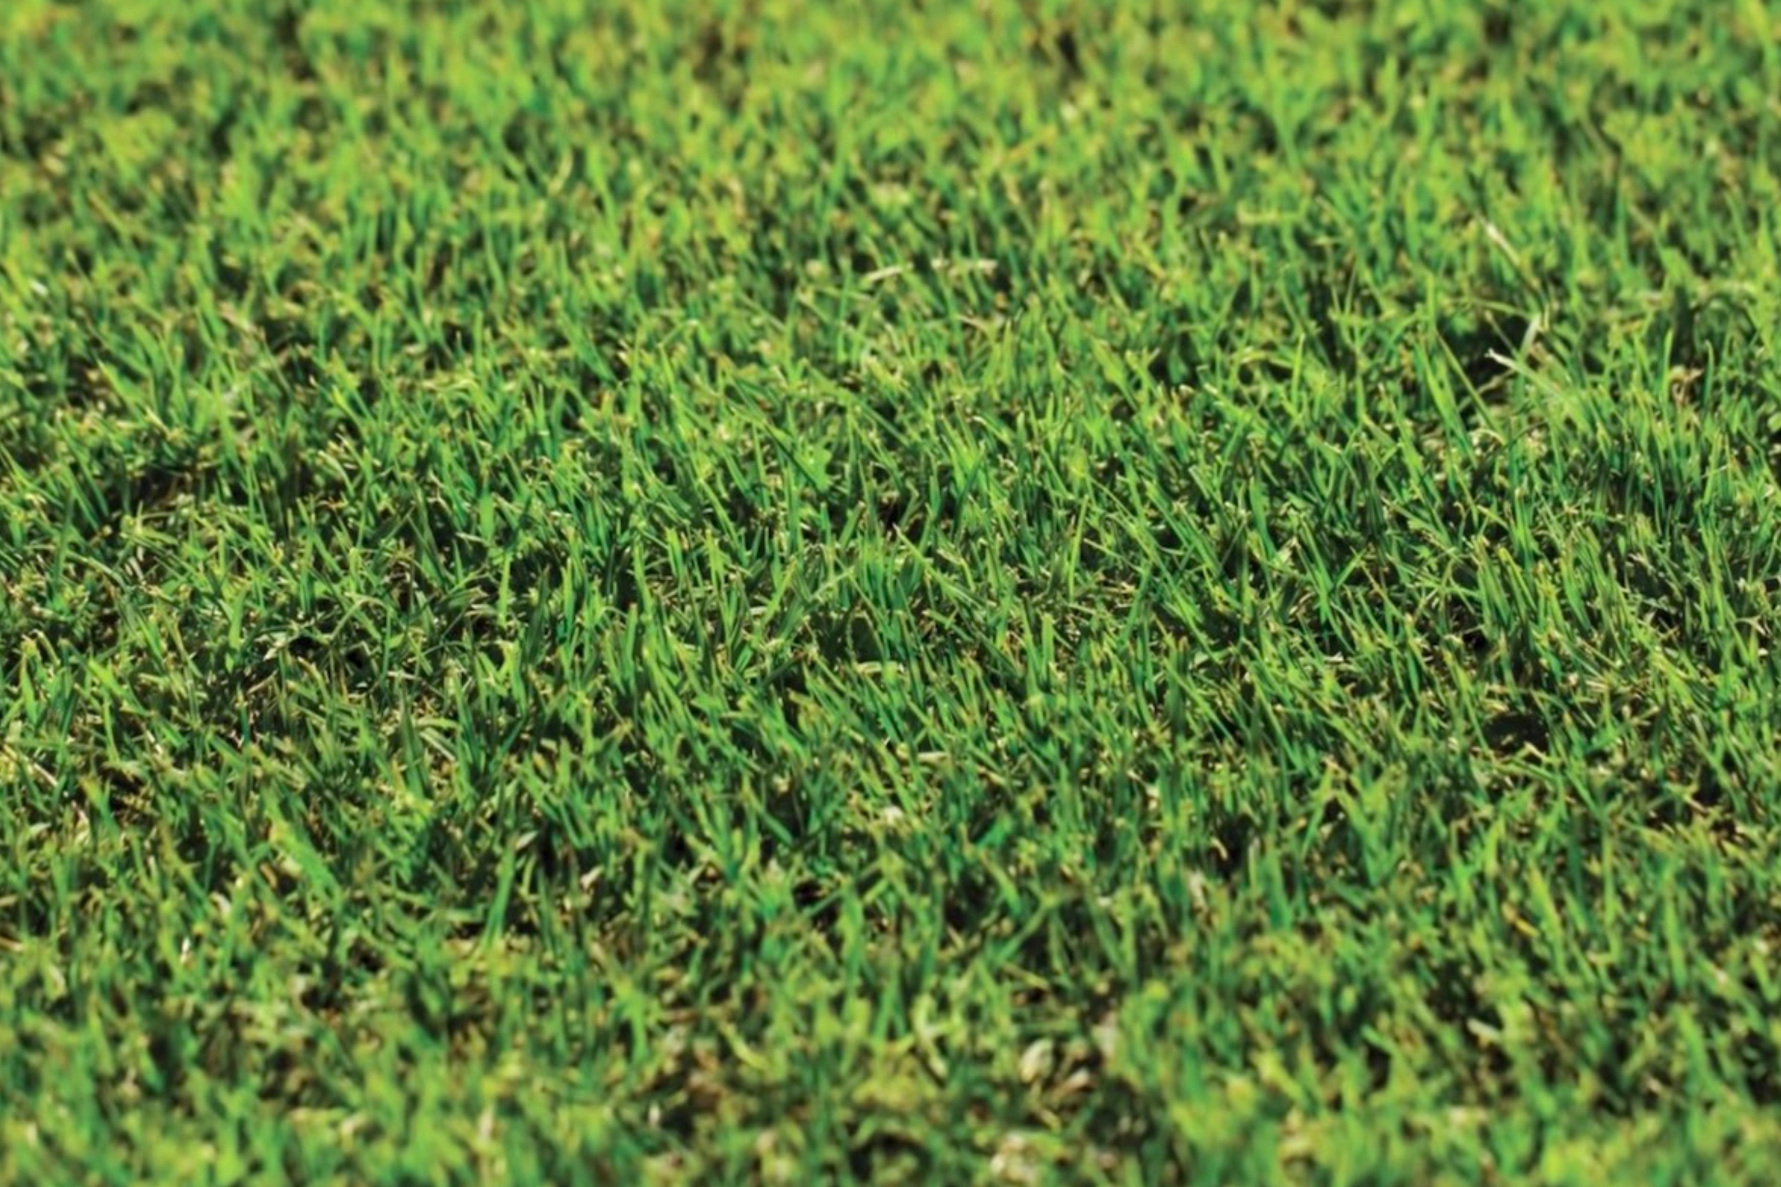
Why Can't I Just Get Wintergreen Couch? Why the Cheapest Turf Isn't Always the Right Choice
Should you choose Wintergreen Couch (Nullarbor) for your Brisbane or Sunshine Coast lawn? Here's when couch grass is perfect and when premium alternatives will save you money long-term.
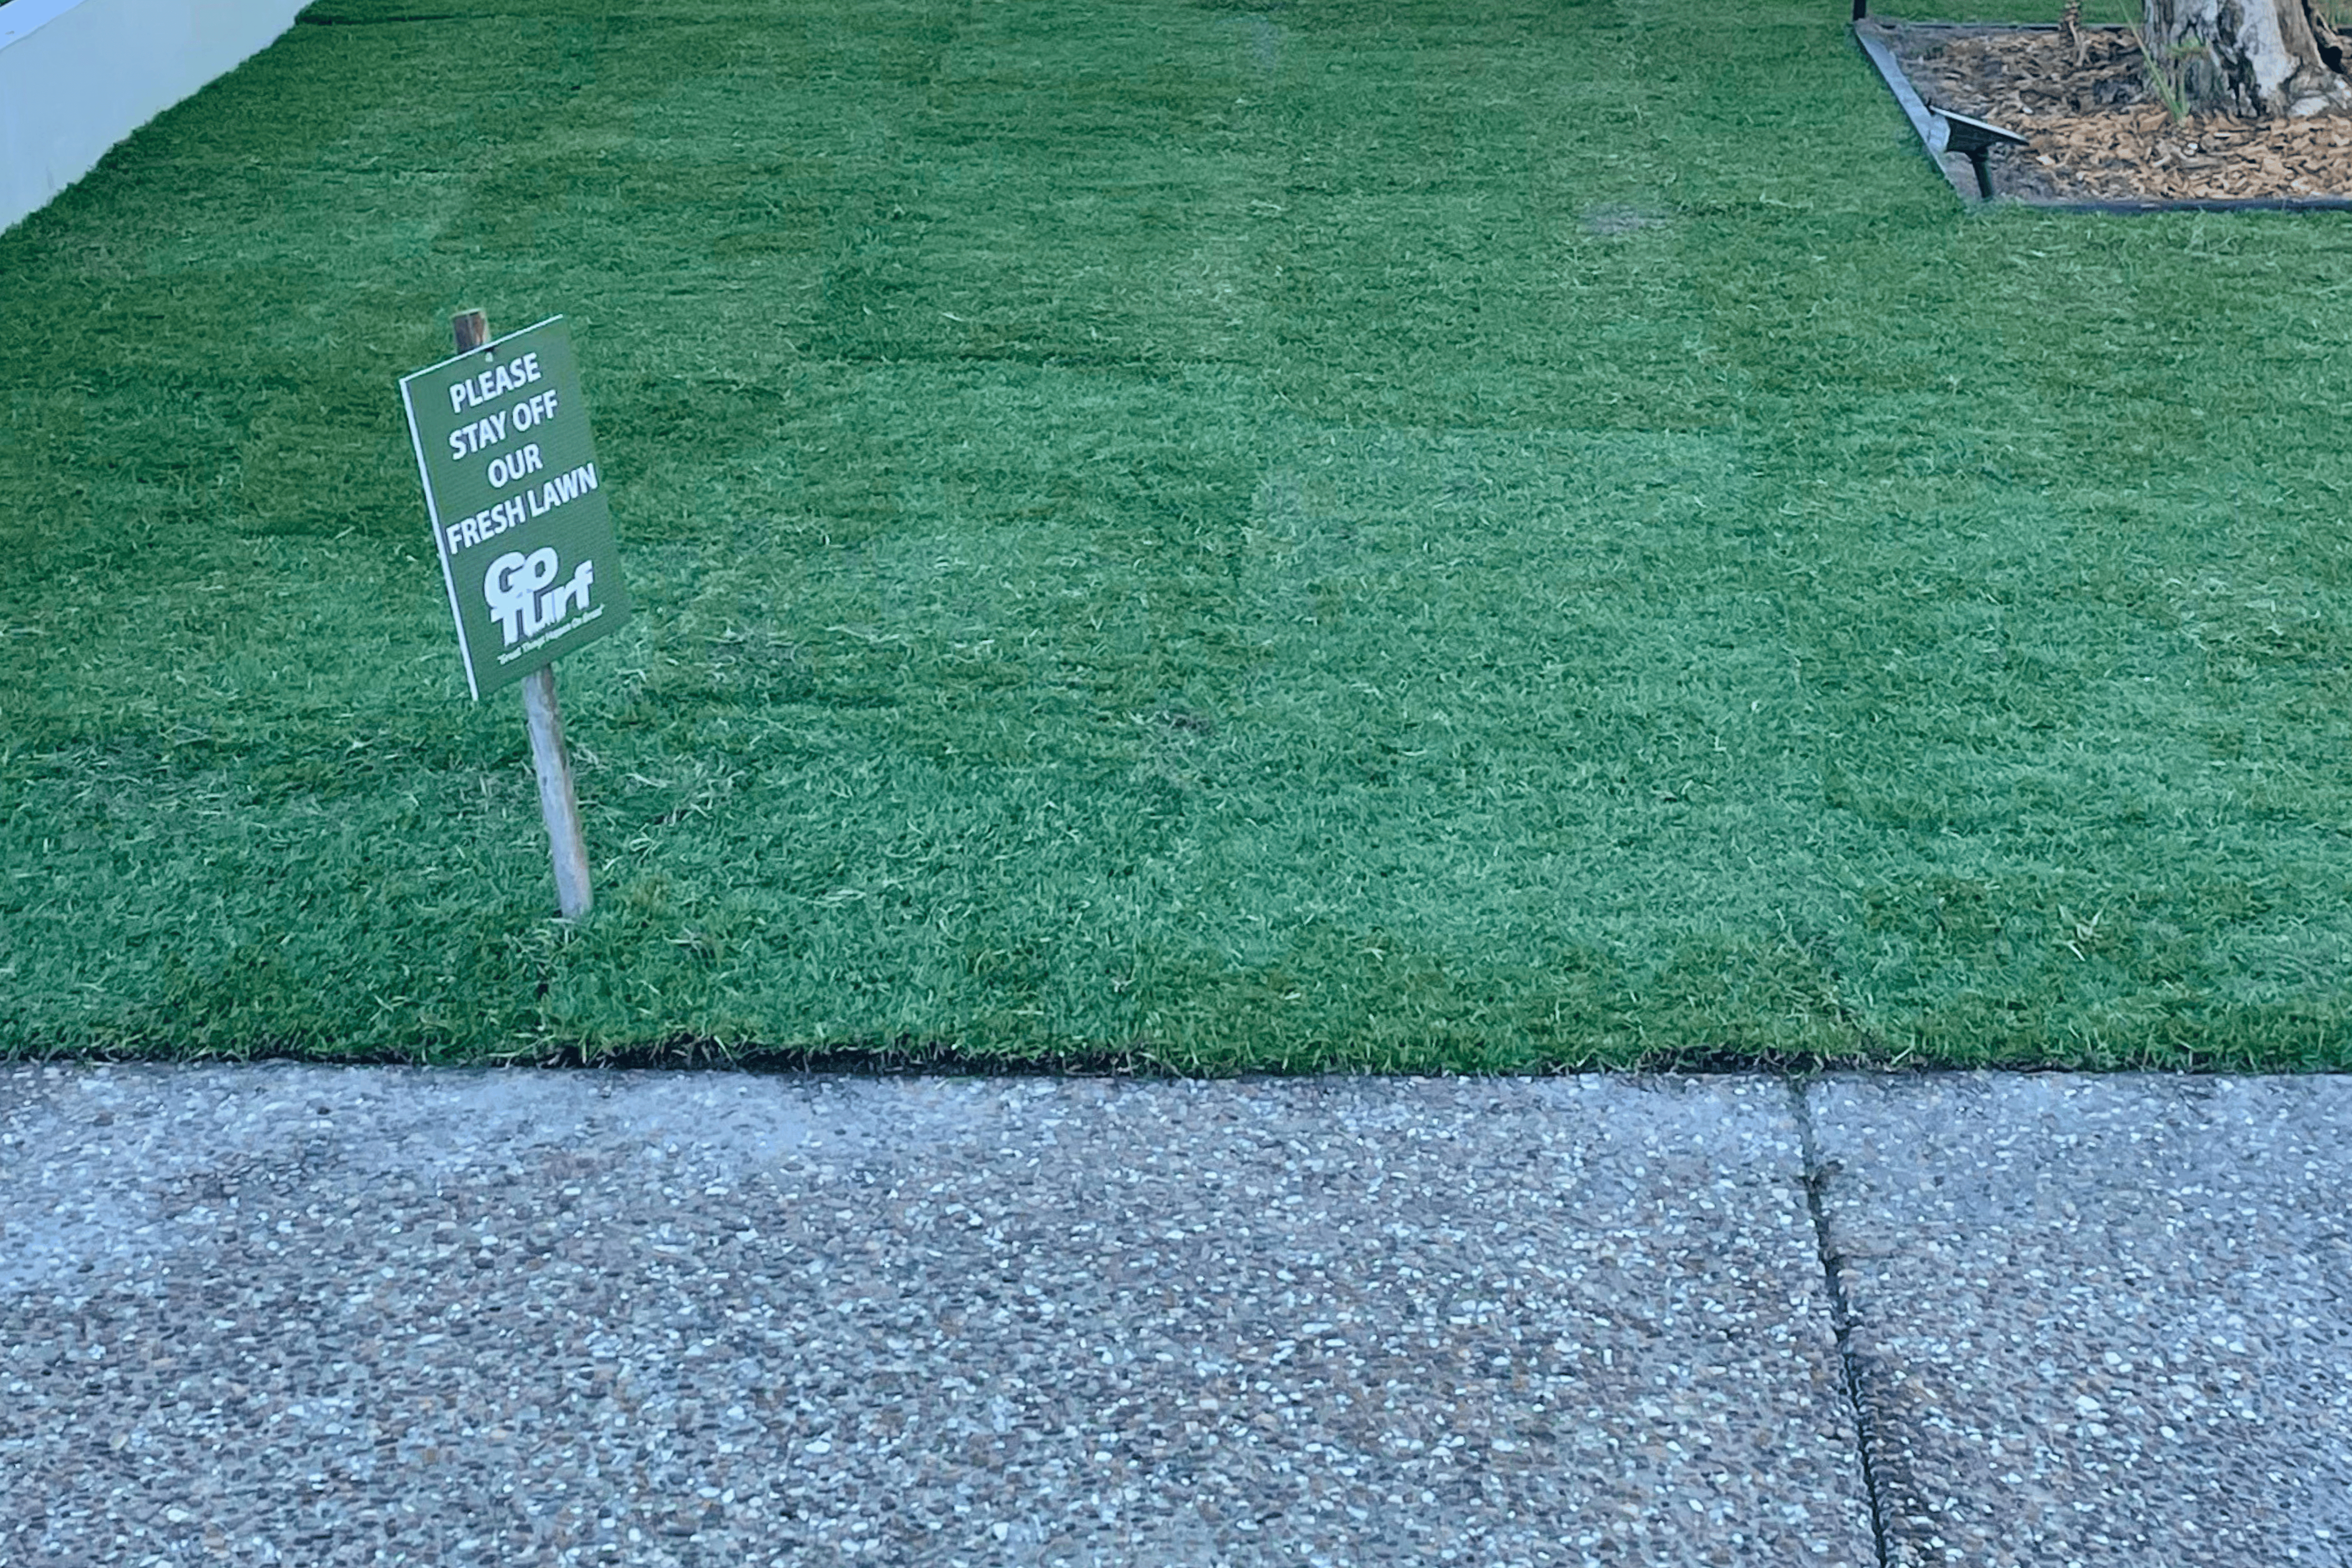
When to Install Your New Lawn During Home Renovations: Complete Timing Guide
South East Queensland's complete lawn installation guide for home renovations. We’re sharing expert timing advice, soil requirements, and new lawn care tips for perfect grass.
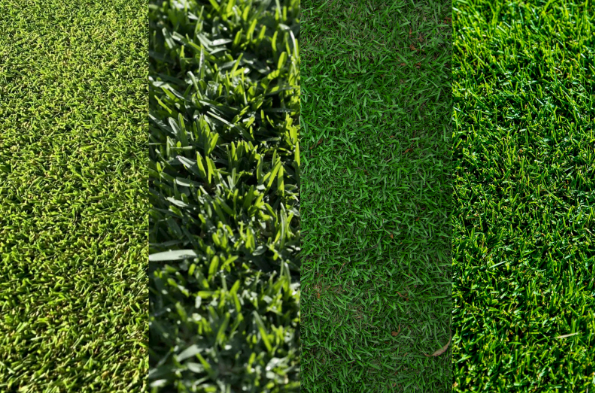
Which Turf Variety is Right for My Yard? The Ultimate SE Queensland Guide
Choosing between buffalo, zoysia or couch for your SE Queensland yard? Our local turf experts break down Sir Walter, TifTuf, Sir Grange & Australis. Find your perfect grass match - grown in the...
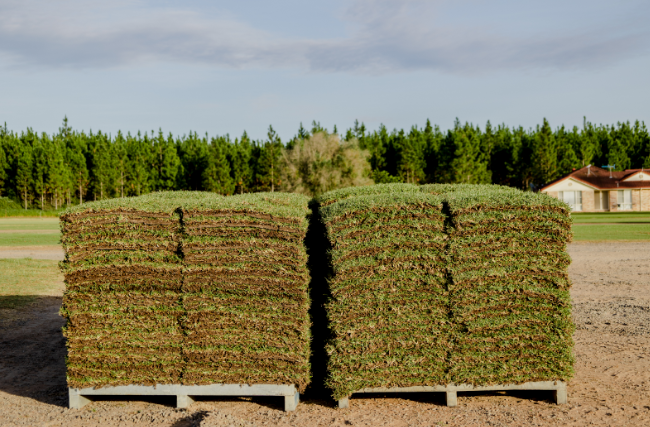
What You Wish They Told You About Preparing and Laying Your New Lawn
Laying new turf? Don’t skip proper prep. Discover the top DIY mistakes, expert tips for soil, fertiliser, and installation, and why GoTurf offers the easiest way to get a thriving lawn.
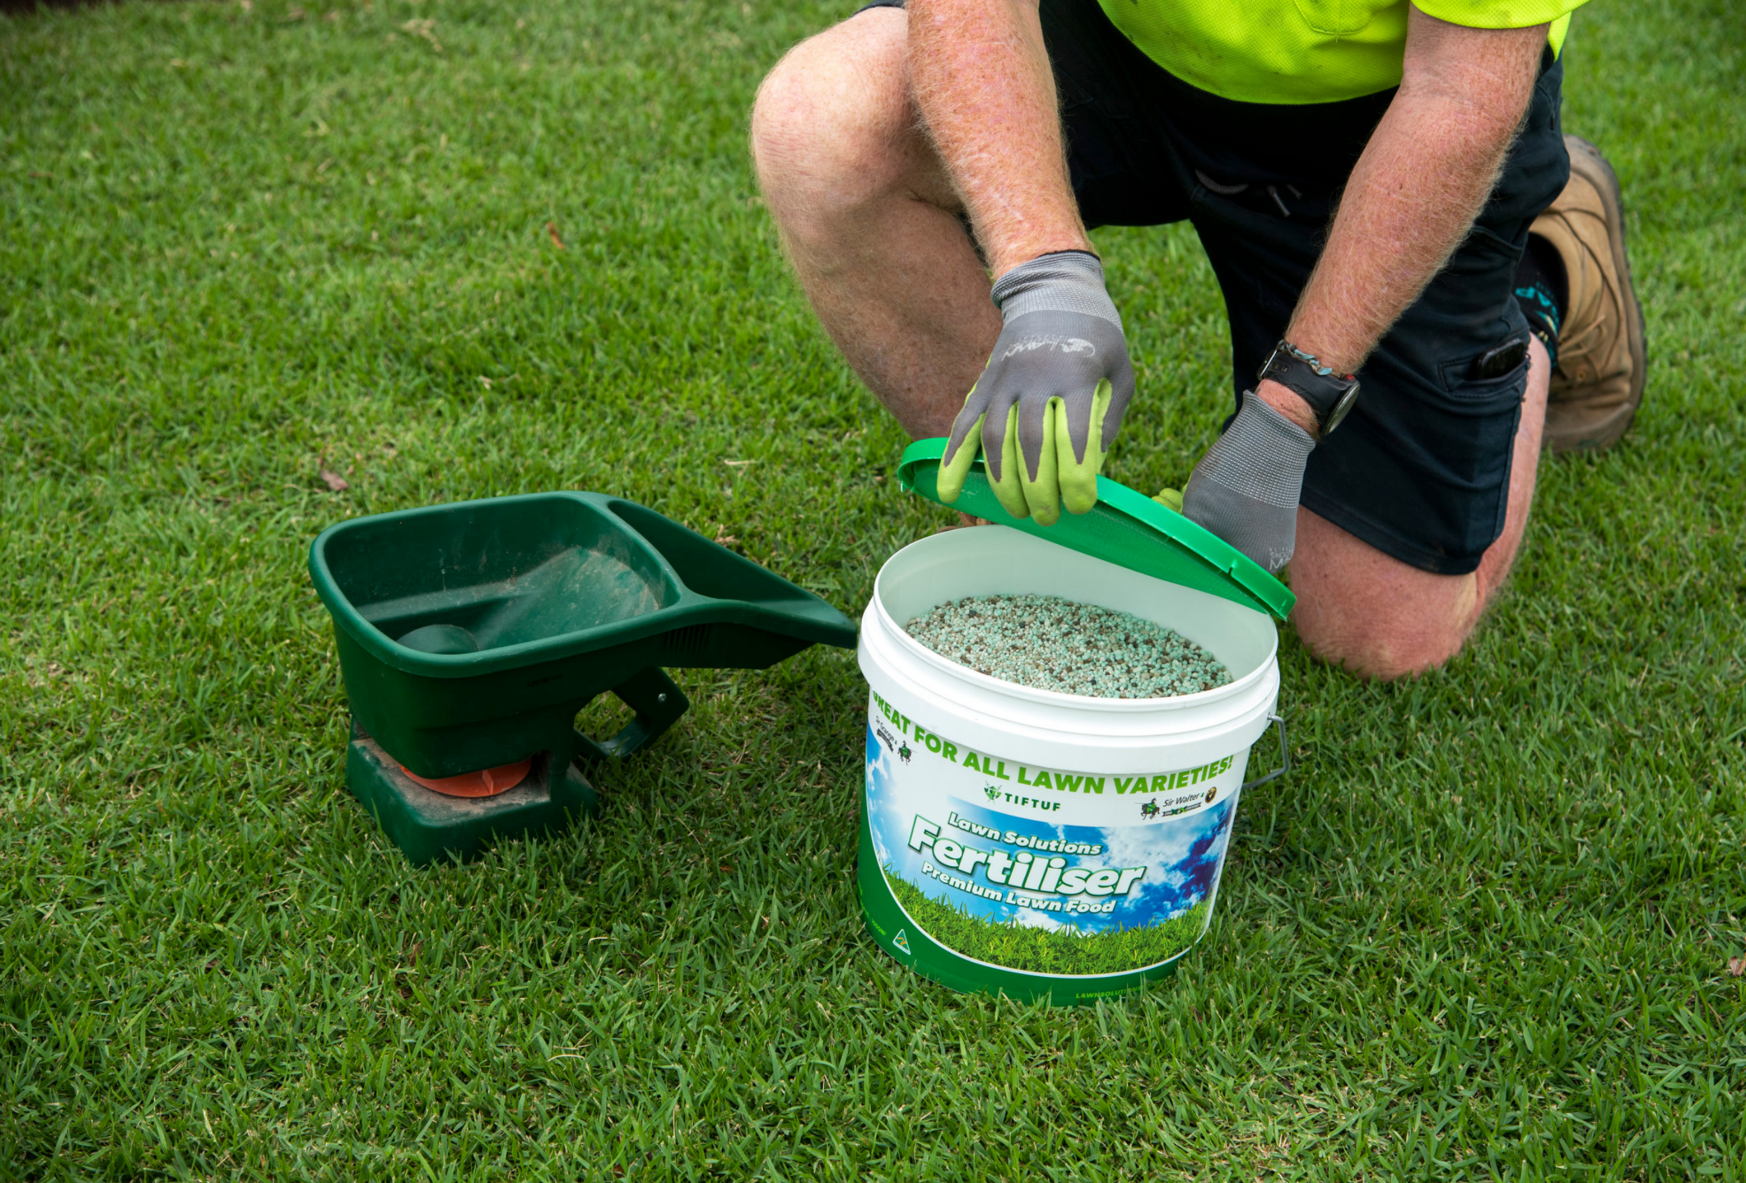
Australian Lawn Fertiliser Guide: All Your Questions Answered
Our complete fertiliser guide covering Buffalo, Couch, Zoysia care with application rates, timing, and top products.

Small Yard, Big Impact: Smart design & choosing the right turf for small Queensland block
How do you get the most out of a small yard? We're revealing all, including the best turf for your space and some smart design tips to create a stunning and functional backyard oasis.
Winter Lawn Care Tips - Your seasonal turf guide
South East Queenslanders, listen up; winter lawn care is a thing, so don't neglect your turf this season. Our guide offers essential tips and product recommendations for a vibrant spring lawn.
Get ready for Stampede Hybrid Buffalo Grass, Australia! Here's everything you need to know about this game-changing turf that'll be gracing yards in 2026.
Your dream lawn starts here - 6 key turf selection tips to consider before purchasing turf
Dreaming of a lush, green lawn that transforms your outdoor space into a sanctuary? Before laying down a lawn, we've got to lay down the law to ensure you get the yard of your dreams. Here in sunny...
Queensland summer vs your lawn 🥊 How to ensure your turf comes out on top
Queensland sure doesn't hold back in the summer season. But we're not letting the weather take our pristine lawns with it 💪 So, today, we're settling your grass grievances with our ultimate Sunshin...
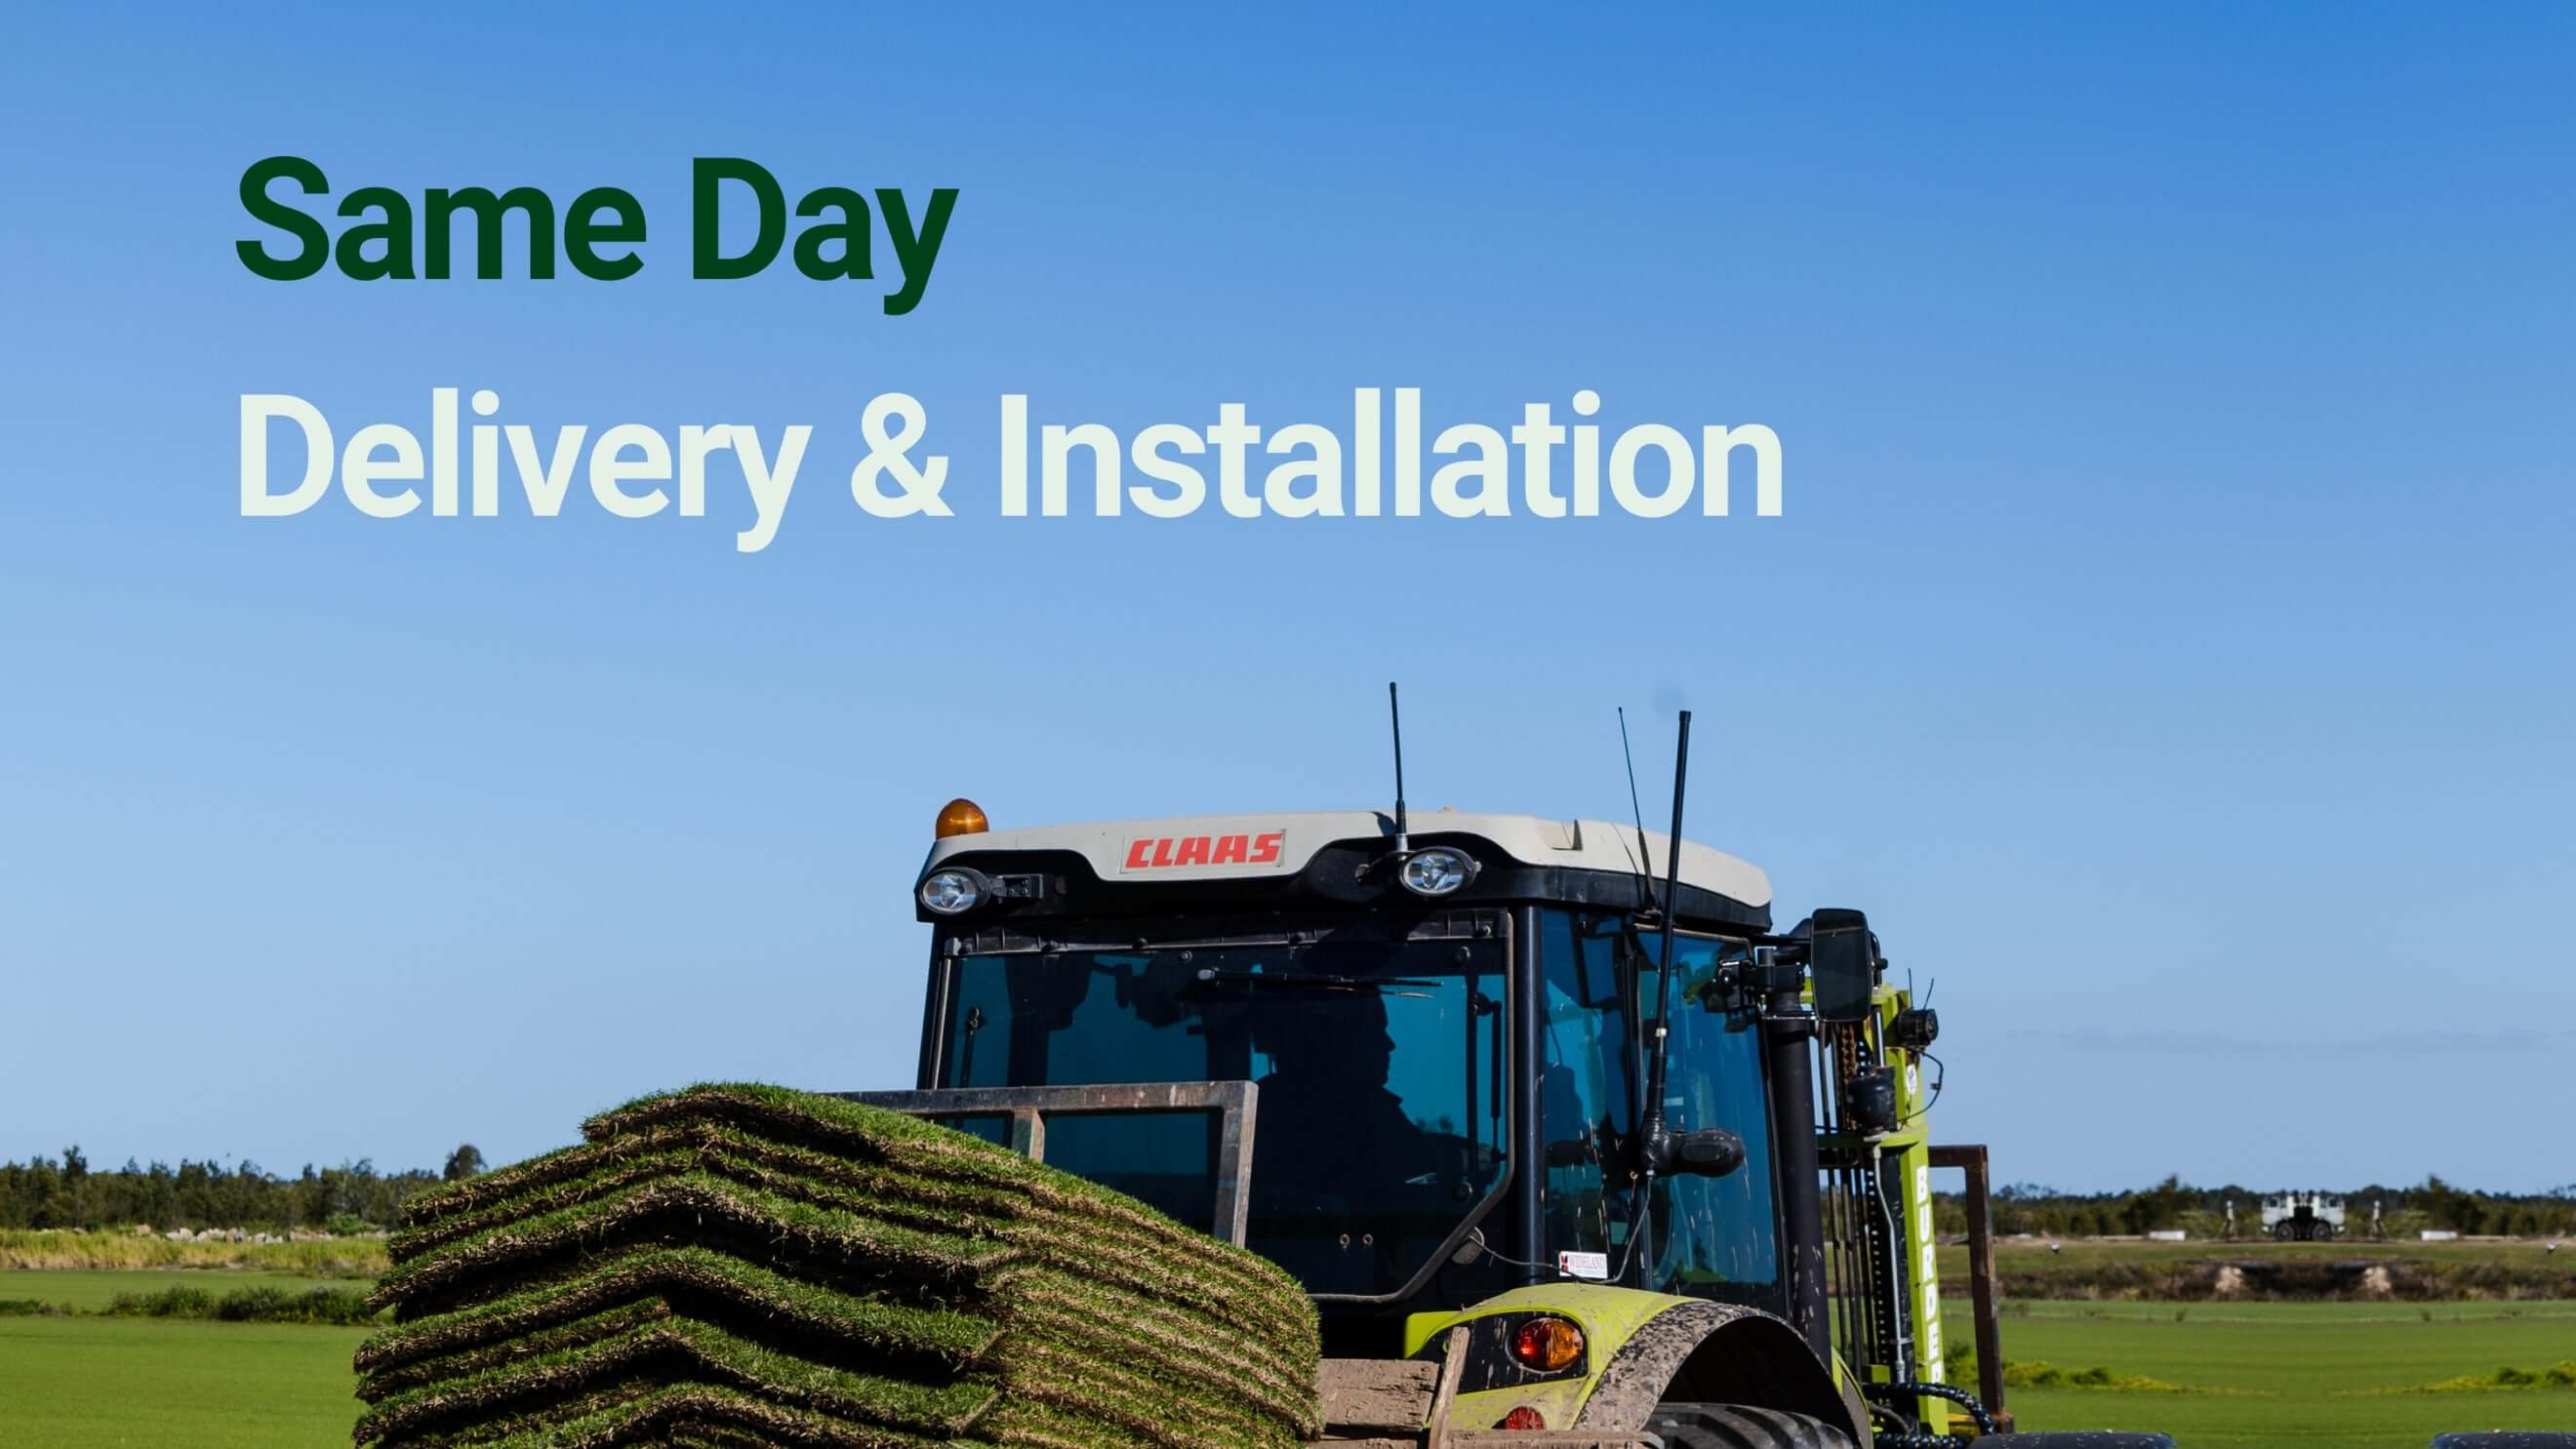
How prompt turf delivery gives your lawn the best start
There’s nothing like stepping onto a fresh, lush lawn, and at Go Turf, we want to make sure you get that green paradise as quickly and seamlessly as possible. That’s why we focus on timely delivery...

Best kids' garden party ideas that will wow
So the weather looks like it will be perfect for a kids' garden party, and your little one has agreed to the idea. Perfect, now what?Garden party ideas are abundant all over the internet, but you w...
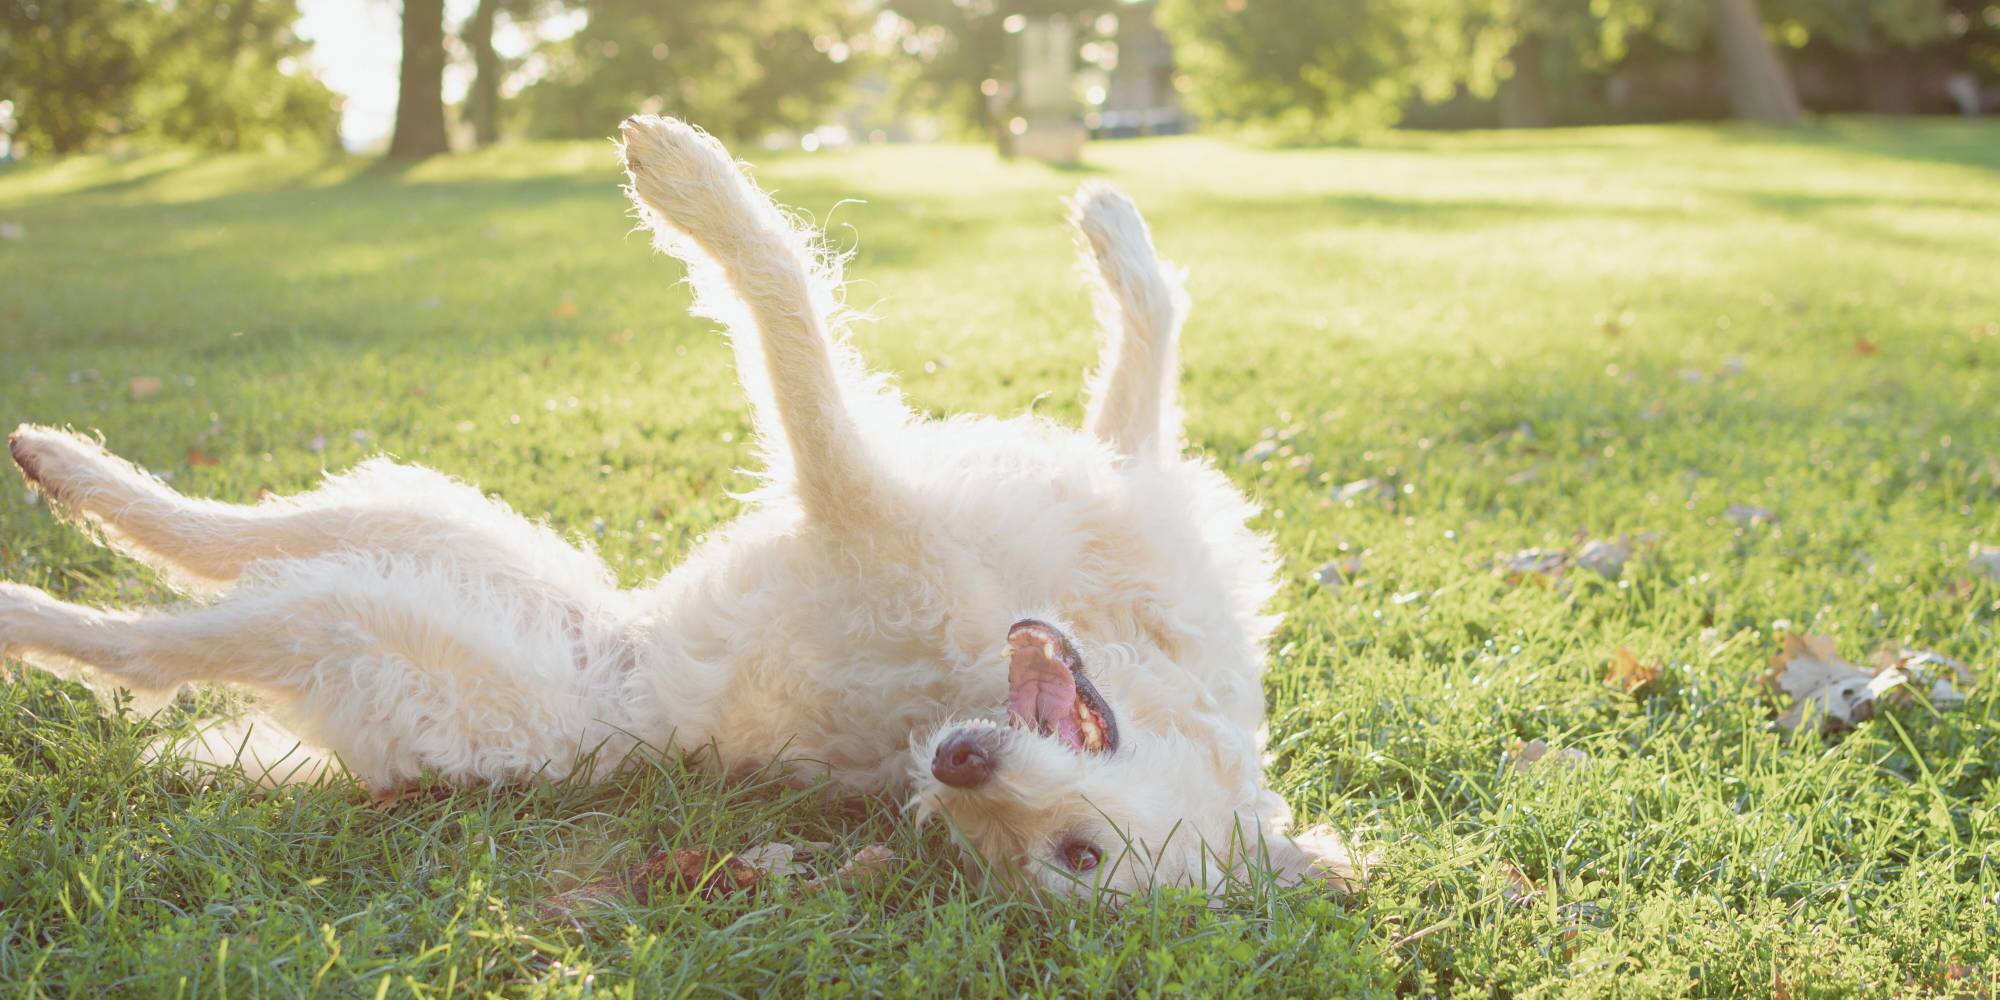
How to make sure your garden is pet safe
Nothing is worse than discovering a pothole the size of your Labradoodle in your perfectly manicured lawn. Right? Wrong.Picture your mischievous but endearing pet being poisoned by something you gr...
See, touch, and learn all about turf at our Brendale showroom
2023 marked the opening of our Brendale office to provide a local service where turf is front and centre to North Brisbane.
Reviews from our customers
Susan D.
Mid Feb 2023. Ordered Sir Walter turf for delivery to my house. Lady who took the order was very helpful with quantity to buy which was spot on. Delivery turned up on time. Driver went out of his way to put the turf exactly where it was wanted at the back of my property. The turf was in rectangular pieces about 1 metre x .75 metre -not in rolls.
Sariah B.
We recently turfed our front yard and were extremely happy with our decision to use Go Turf. The quality turf we received exceeded our expectations, was great value for money and was free from weeds (unlike other turf we’ve seen on the market). Our lawn is now thriving. Thanks Matt for your wonderful customer service!
Rebecca C.
Such an amazing bunch of people. Exceptional customer service, personal approach, kind hearts. I was in a heat of dispare and phoned unknowingly to me after hours and they happily took my call and even dashed me around the farm to find the perfect piece for my needs. all right away.
Sonja R.
Quality Service, Quality Turf,Great to work with!All the staff at Go Turf will help you with what ever your turfing needs may be.
Shiralee W.
Extremely helpful, friendly people and lovely lawn for eyes to see. Highly recommended Go Turf for all your lawn!
Stuart H.
Fantastic service and product!!! Great to deal with a Family business whom has pride in their product and service! Cheers Go Turf..
Sarah G.
The customer service / communication from start to the very end was above the rest. The three men that delivered and laid our turf were so friendly, happy and just pleasant men and they were fast and did a spectacular job.
Liisa I.
Share what your customers are saying about your products, customer service or shipping rates.
Dave
Matt at Go Turf was a pleasure to deal with. Nothing was too hard and the Turf quality was fantastic. Go Turf's focus on looking after it's customers is outstanding and their commitment to ensuring customers are happy with their product is evidenced when the last thing they say is "let me know if you have any problems".
Ben V.
Amazing! The best word to describe the whole crew at Go Turf. Everyone from Matt and Jo through to Jeff and his boys. They were all great do deal with, very friendly and insightful. would recommend them to anyone.
Steve B.
Really good customer service. I ordered 220m2 of Sapphire Buffalo turf which was delivered and laid 2 days later. The guys did an adequate job laying, but bear in mind your soil must be completely prepped beforehand. I knew this but didn't have the time to get the soil as flat and well prepped as I would have liked.
Leishy V.
The most beautiful product! If you can make the trip out to beerburrum to pick up your grass, do it. The scenery is amazing with views of the bay and the glasshouse mountains. Especially if you're a city slicker. Very cool to see how they cultivate our beautiful turf! Thank you ladies my grass is incredible!!!
Ronnie M.
Absolutely love my new Empire Zoysia lawn from Go Turf. Whilst I didn't have them install it the quality of grass was fantastic. I can't wait to be able to kick the ball around on it with my son!The staff (I think it's Jo and Jessica) where fantastic and delivered on very short notice.
Susan H.
We have been going to go turf for 2years now we have found everyone there so helpful, and very friendly we would recommend everybody to go and talk to go turf about there needs as they will always point you in the right way thank you go turf cheers sue and keith

